The Fresh & Flavorful Microgreens Guide 🌱✨
Thanks for bringing home living microgreens! These tiny powerhouses are packed with nutrients, flavor, and freshness—exactly how nature intended. To get the most out of your greens, follow this simple care guide. With a little love, your microgreens will stay fresh and vibrant for up to 7-10 days!
Keeping Your Microgreens Fresh
Freshly cut microgreens deliver the best taste and nutrition, which is why we provide them alive instead of pre-harvested in plastic containers. The moment veggies are cut, they begin to lose nutrients—but when you harvest microgreens fresh, you’re getting them at their absolute peak.
Think you don’t have a green thumb? No worries! We’ve got a simple method for keeping your greens fresh.
Option 1: In the Refrigerator (Best for Broccoli and longer storage)
✔ Store the box in the fridge — check the fridge temperature and be mindful that microgreens are delicate and can freeze easily!
✔ Check the moisture level every 3-4 days. If the pad feels dry, add water or shallow bowl and sit the pad on for a few mins to absorb some water. Shake well before putting back in box.
✔ A little condensation on the leaves is normal. If they get too wet, move them to the countertop for a day to dry out.
Broccoli microgreens begin to lose their most essential nutrient, including sulforaphane, as soon as they are cut. It is highly recommended that you keep broccoli microgreens alive until the moment you are going to use them.
Option 2: Cut & Store in the Refrigerator (Good for grab-and-go convenience; NOT for Broccoli)
✔ Let the microgreens sit on the countertop for a day to evaporate any condensation.
✔ Once completely dry, cut them and store them in an airtight glass or plastic container lined with a paper towel.
✔ Keep them in the fridge and enjoy as needed! Dry greens = longer shelf life, so avoid excess moisture.
Harvesting & Enjoying Your Microgreens
How to Harvest: Use a sharp knife to cut microgreens about 1/2” inch above the grow pad, just above root hairs if present.
To Rinse or Not to Rinse? Our microgreens are grown in a clean, controlled environment, but if you prefer to rinse them, it’s best to use filtered water and a quick, gentle wash—avoid soaking!
How to Use: Toss them into smoothies, salads, sandwiches, soups, or just snack on them fresh! Get creative—your meals (and body) will thank you.
Looking for recipe inspiration? Follow us on Instagram & Facebook @shindighomeandgarden for delicious ideas!
Daily Dose: We recommend eating about 1 oz per day (roughly ¼ to ⅓ of a grow pad).
What’s That White Fuzz? (Hint: It’s Not Mold!)
One of the most common questions we hear: "Is that mold at the base of my microgreens?"
Nope! That white, fuzzy stuff is micro root hairs—tiny, natural root extensions that help your greens absorb water. These harmless, normal root structures appear especially in hydroponic microgreens.
⚠ How to Tell the Difference:
- Micro Root Hairs: White, delicate, and only at the base of the stems.
- Mold: Clumpy, slimy, and usually higher up on the stems or leaves.
- Rot: Brown, mushy, and found at the base of the pad.
If you're ever unsure, check out our FAQ Page for a more detailed breakdown.
Still Have Questions? We’ve Got Answers!
We love chatting about microgreens! If you need more info, check out our Frequently Asked Questions or reach out anytime.
Enjoy your fresh, flavorful microgreens! 💚🌱
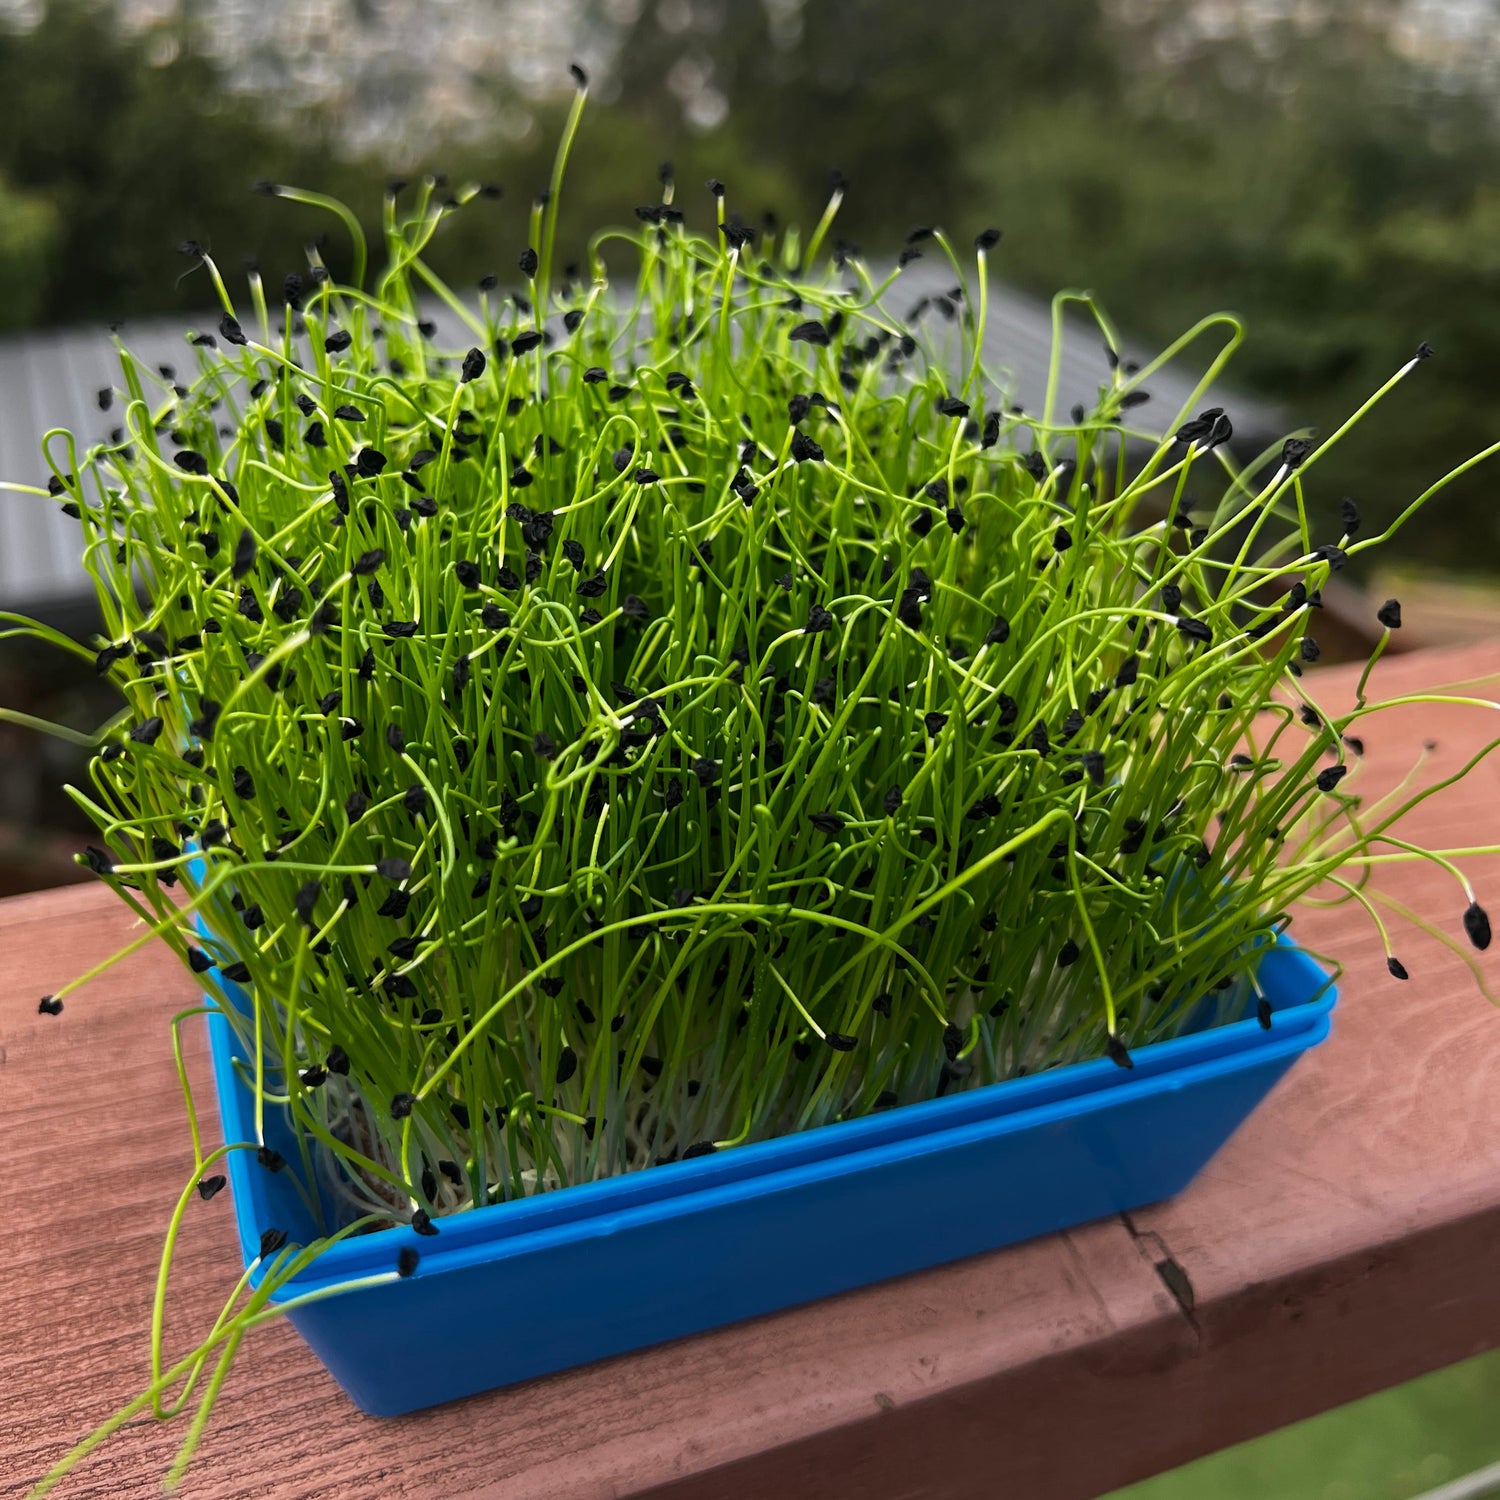
How to Grow Microgreens at Home with Shindig Kits
Welcome! You’ve just taken home a Shindig DIY Microgreens Kit. In about 7–14 days, you’ll be cutting your own fresh greens to add to every meal.
No garden required. No soil. No waste. Just clean, flavorful greens—grown right in your kitchen.
What’s in Your Kit
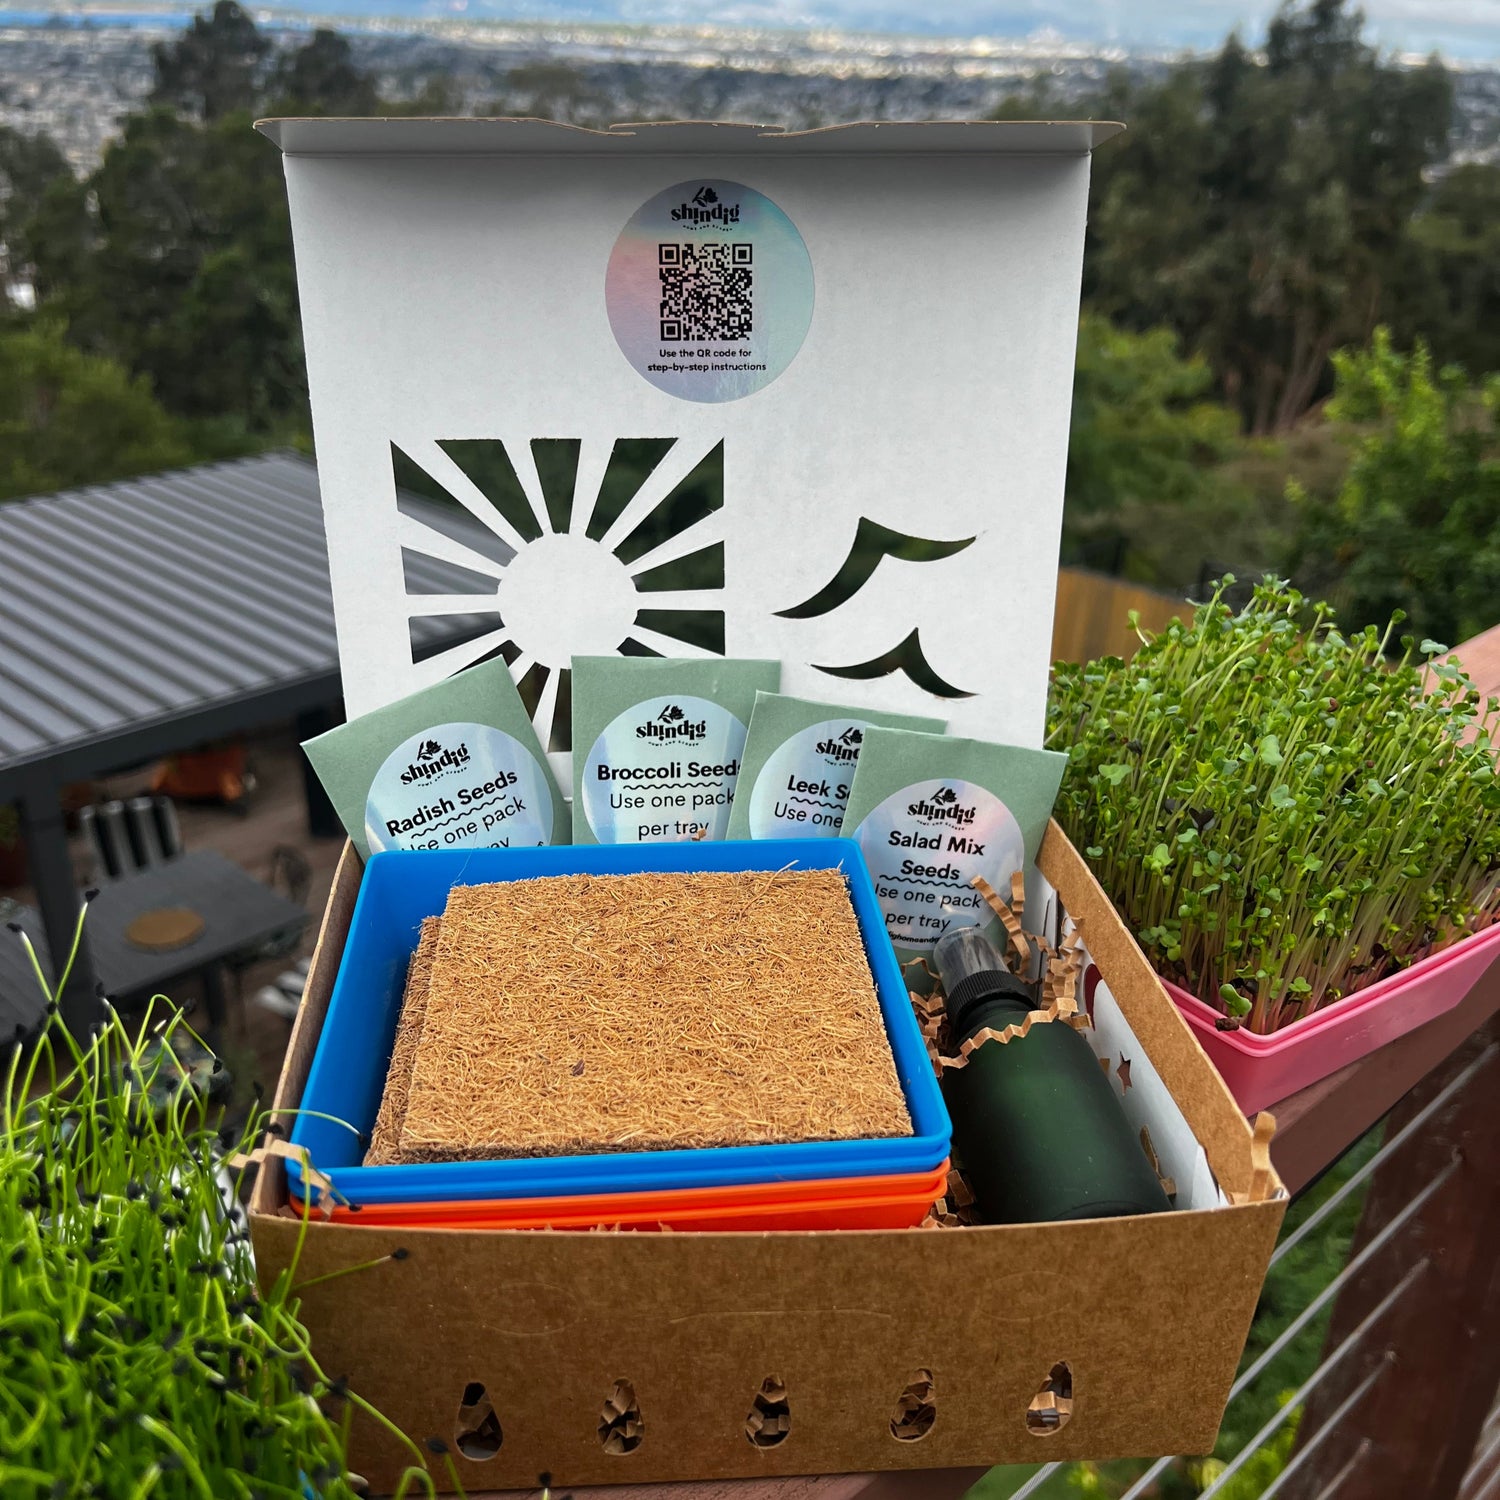
- Reusable grow tray sets (2 - base and lid)
- Compostable coconut coir pad (4)
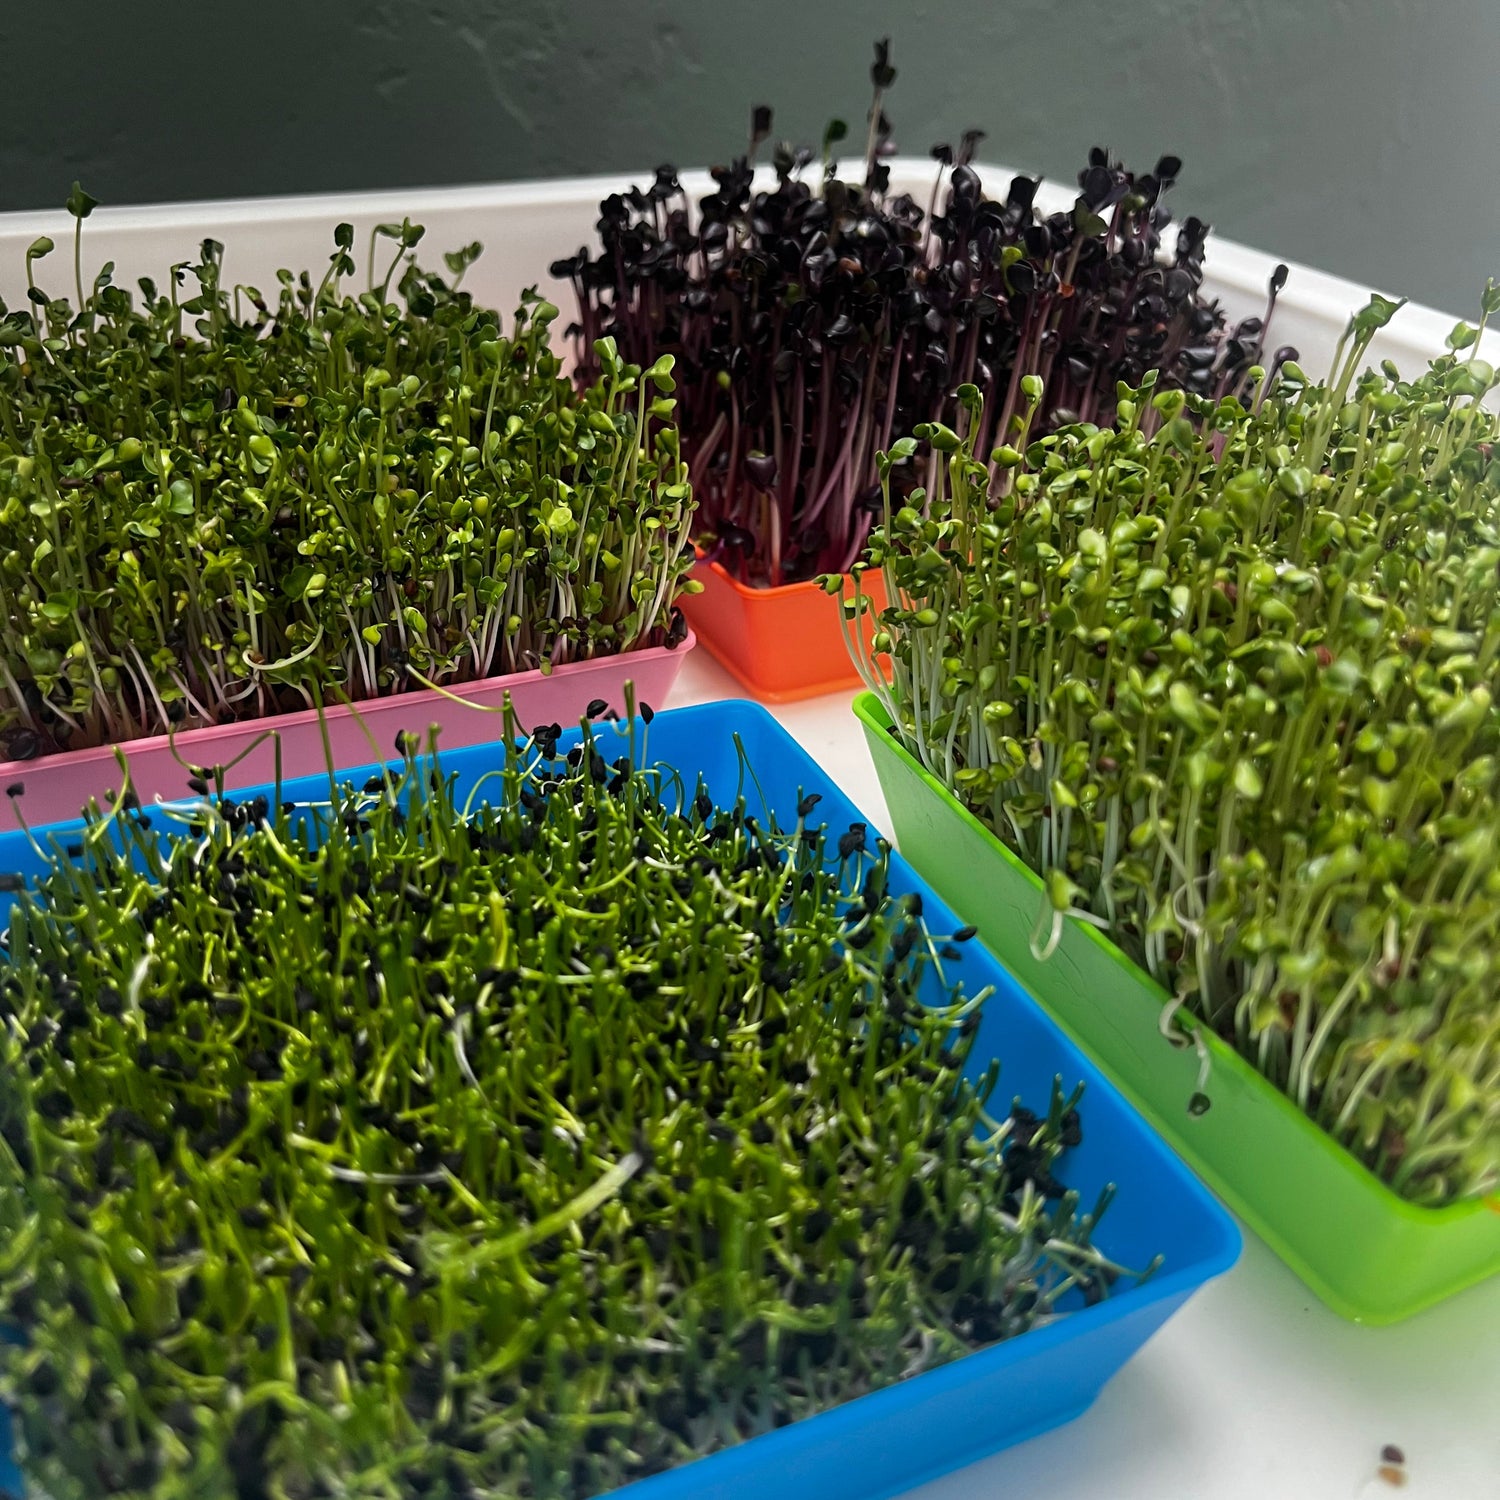
- Seeds (Broccoli, Leek, Salad Mix & Radish)
- Spray bottle
You’ll also need: clean water (pH of 6-6.5 is ideal - Voss & Smart Water are two bottled water brands within this range), small plate for each tray, a sunny windowsill or grow light.
Step-by-Step Instructions
- Prepare the Tray
Soak coconut coir pads in hot water overnight. Place one coconut coir pad in the tray with holes in it.
- Sow the Seeds
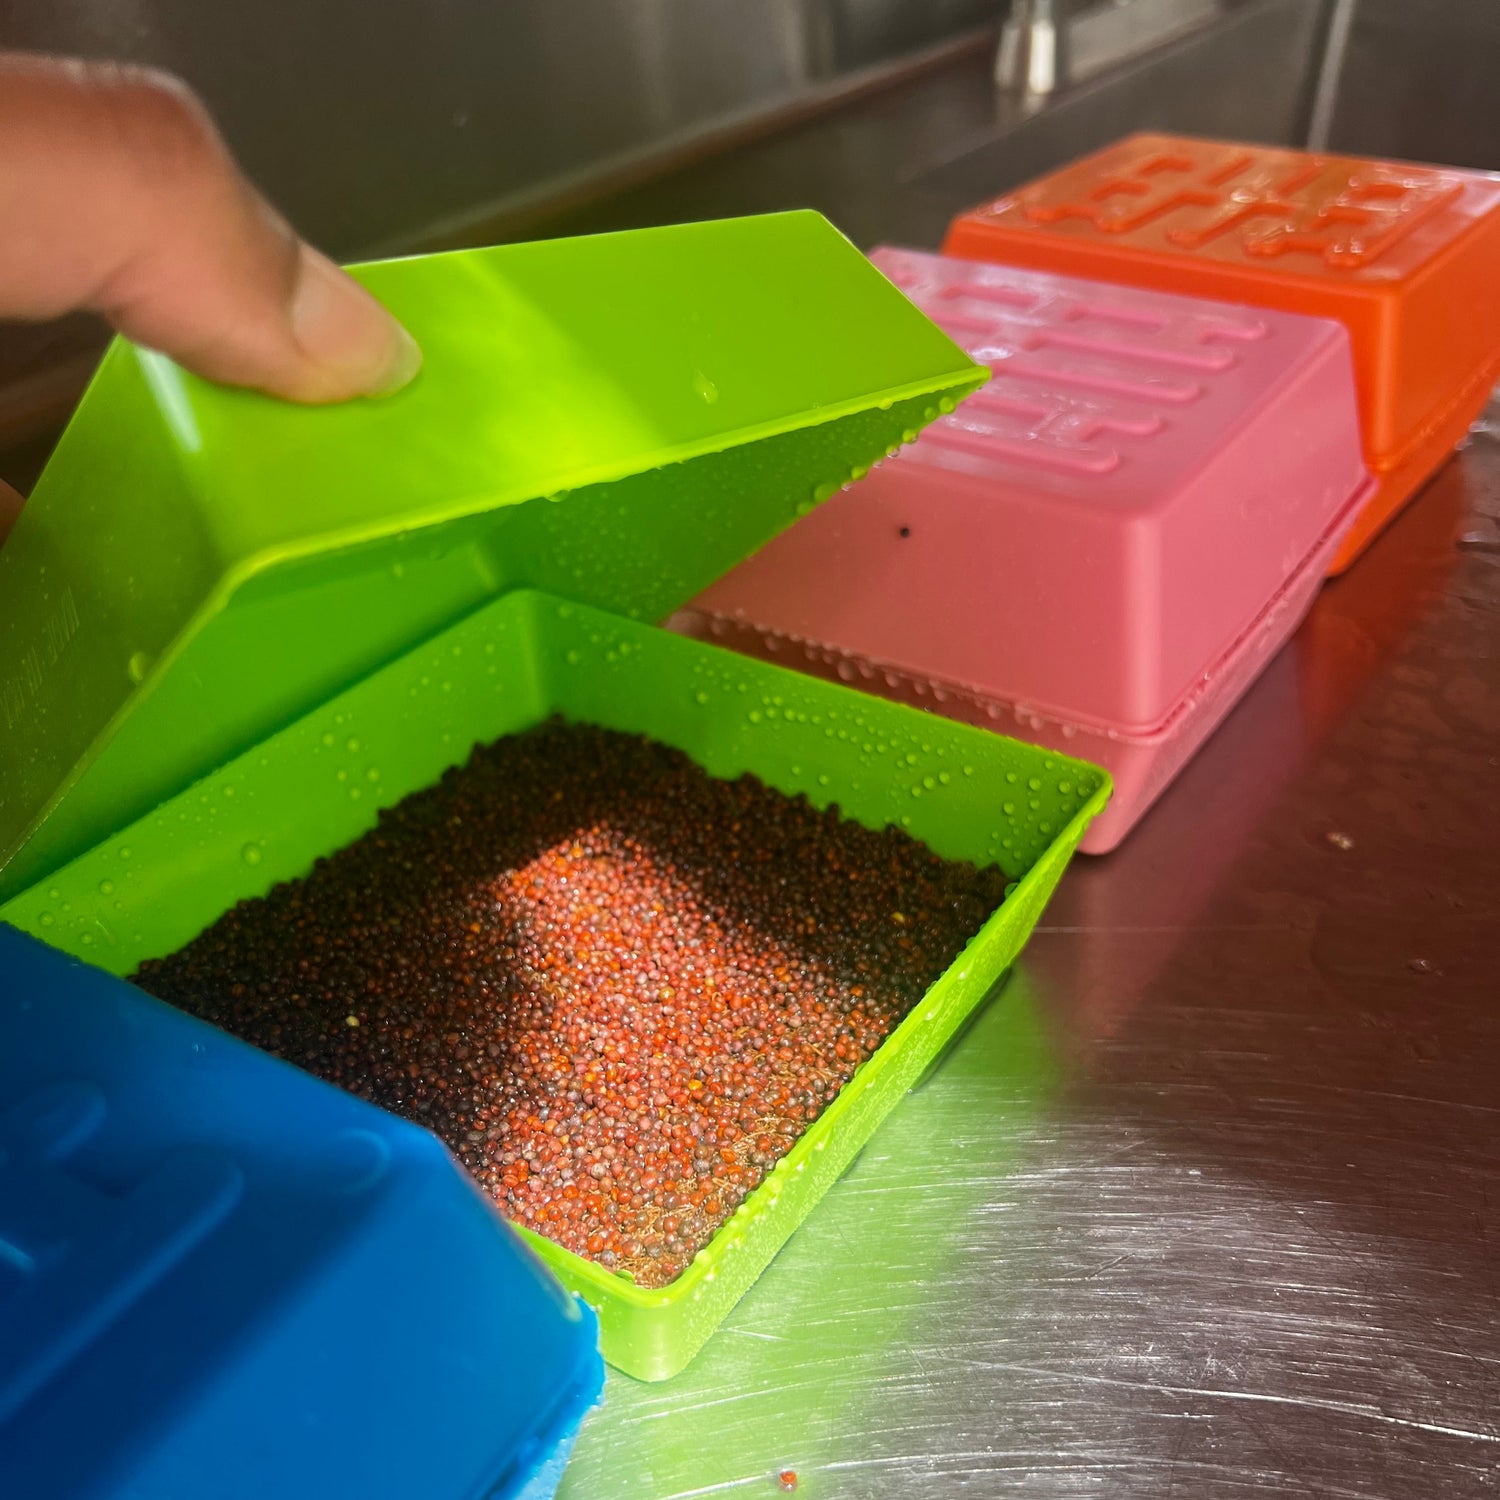
Sprinkle seeds evenly across the pad in a single, even layer. The smoother side of the pad is the top. Each seed pack is the perfect amount for one pad.
- Cover to Germinate
Mist well, then cover the tray with the lid placed upside down to block light. Place the microgreens on a plate so any water is not lost. Leave covered for 3-4 days until seeds sprout. Mist 2 times daily to keep the seeds and pad moist, but not soggy.
- Uncover & Add Light
Once sprouted, and leaves can't be contained by the cover, remove the cover. Place tray in indirect sunlight or under a grow light. Pour water on the plate so the roots can soak it up; no more misting at this point.
- Grow
Over the next week, watch your greens take off! Water daily so the microgreens do not dry out.
- Harvest
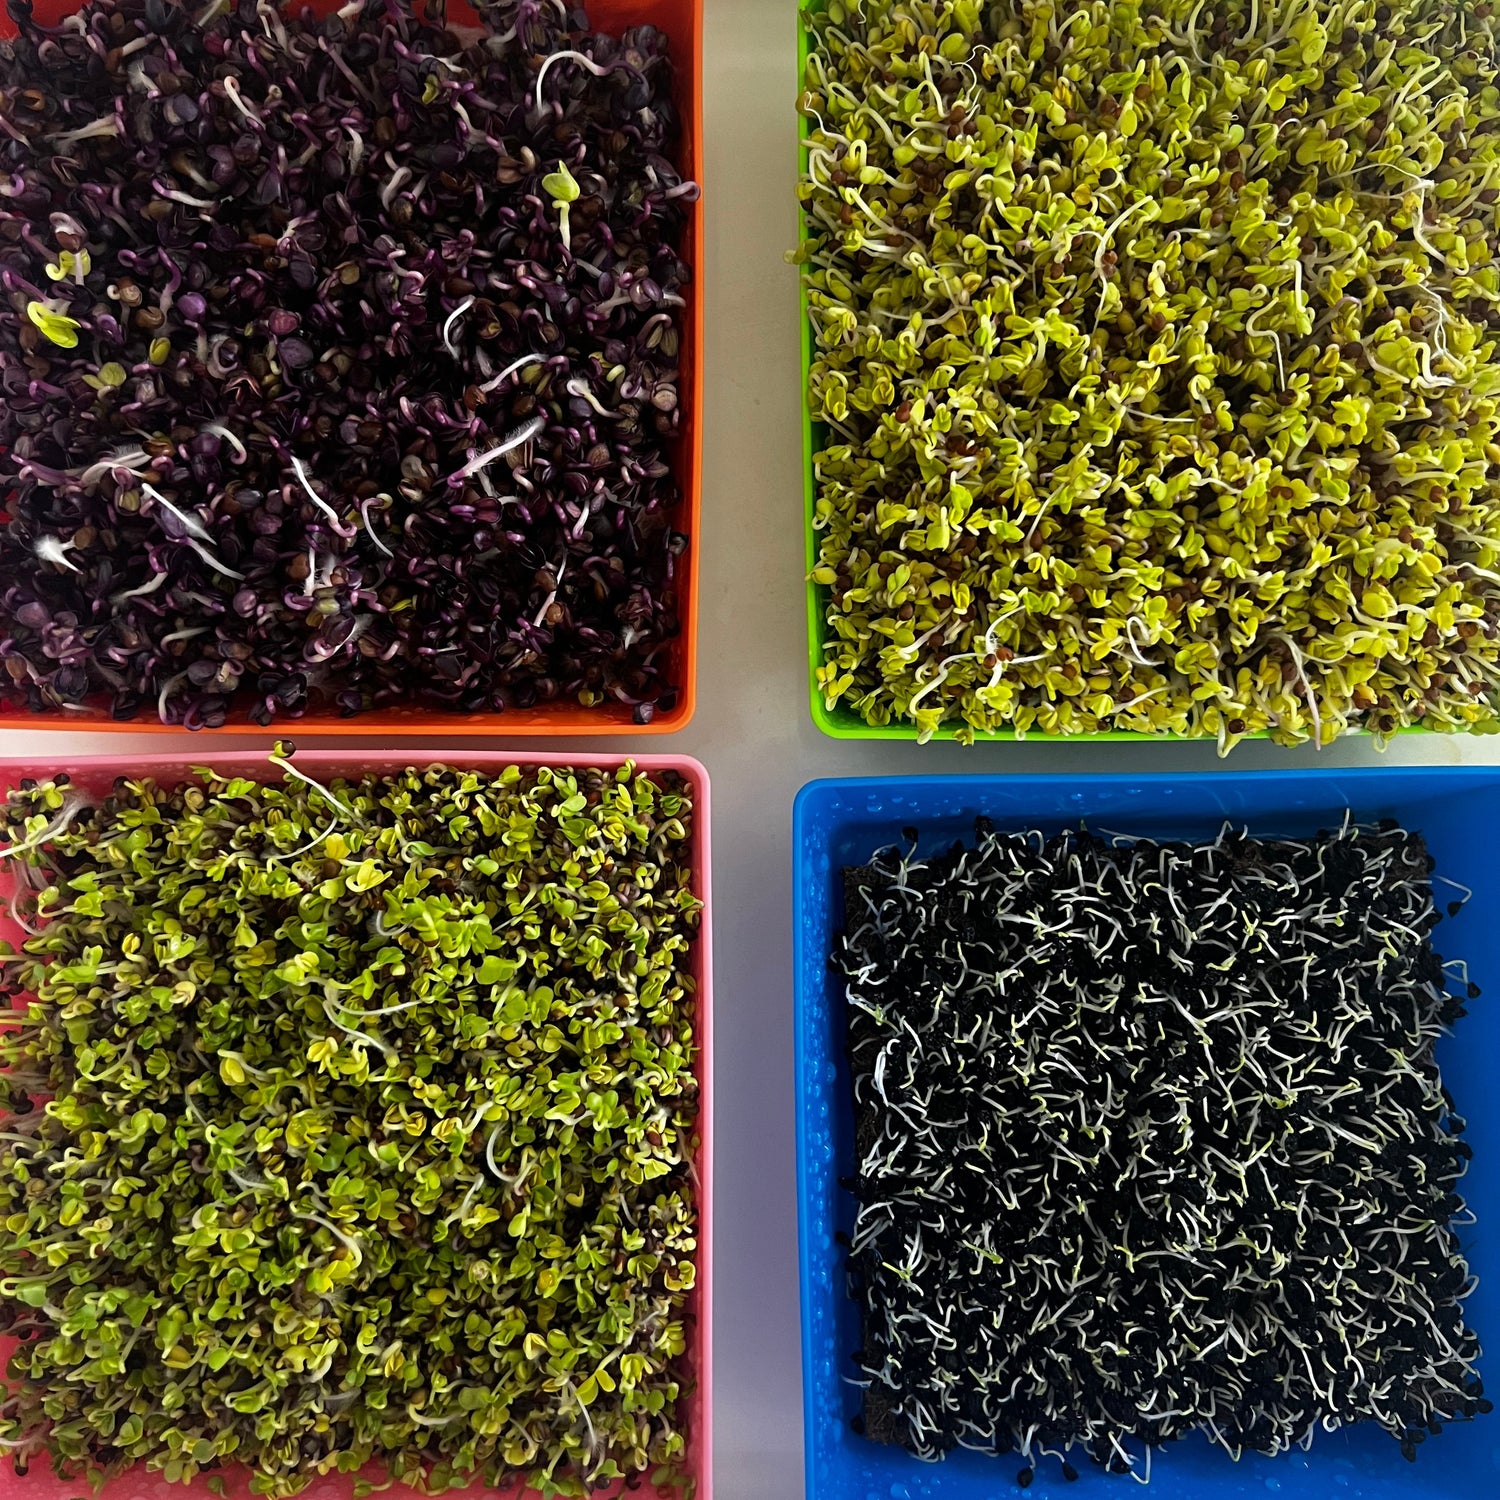
When microgreens are 2–3 inches tall and their first true leaves are open, snip with clean scissors just above the roots. Harvest fresh as you need them.
Tips for Success
- When microgreens are Harvest just before eating for the best flavor.
- Living trays last longer than pre-cut greens—keep them on your counter in a bright spot.
- For mold prevention: avoid over-watering and keep in a well-ventilated space.
- Once microgreens are ready to harvest, they will keep for up to one more week. Continue watering daily to ensure they stay hydrated a vibrant.
FAQs
What is that fuzzy hair at the base of my microgreens?
Great news—it’s not mold! Those tiny, hair-like strands are micro root hairs, and they help your microgreens absorb water. If you’re growing hydroponically, these are especially common and completely natural.
Check out our detailed guide: Fresh & Flavorful Microgreen Guide.
Do microgreens regrow after cutting?
Some (like peas) may regrow once, but most are one-and-done.
How long do harvested microgreens last?
About 5–7 days in a sealed container in the fridge.
What do I do with the used coir pad?
Compost it! Then replace with a fresh pad for your next tray.
Refill & Reorder
Running low on seeds or pads? Order refills anytime:
[Coming Soon!]
