Frequently Asked Questions
We love talking about microgreens, and we know you have questions! Below, we’ve answered some of the most common ones we hear. If you don’t see your question, reach out—we’re always happy to chat and help you get the most out of your greens.
Why do my microgreens smell?
Let’s start with the top question we get: "Why do my microgreens smell?" The short answer? They’re powerful little plants! Microgreens contain up to 40 times more nutrients than their full-grown counterparts, and with that comes an amplified aroma. For example, broccoli microgreens are packed with sulforaphane, one of nature’s most potent health compounds, but they also carry a strong scent. A vibrant aroma is completely normal—however, if your greens smell off (think sour or rotten), it could be a sign they’ve gone bad. More on that below!
1) What is that white fuzz at the base of the stems?
Great news—it’s not mold! Those tiny, hair-like strands are micro root hairs, and they help your microgreens absorb water. If you’re growing hydroponically, these are especially common and completely natural.
Mold, on the other hand, looks different. It usually appears higher up on the stems or leaves as fuzzy clumps rather than delicate root hairs. Mold is also associated with excess moisture and poor airflow, so if you’re unsure, check out our detailed guide: Fresh & Flavorful Microgreen Guide.
2) How should I harvest my microgreens?
To get the most out of your greens, cut them about 1/2" above the grow pad—just above the micro root hairs. A sharp knife works best, but scissors will do. And don’t just eat the leaves! The stems are nutrient-packed too, so keep them in your meals.
3) How long do microgreens stay fresh?
With proper care, your microgreens should stay fresh for 7-10 days. Different varieties have slightly different shelf lives, but the key is storing them correctly—check out our Fresh & Flavorful Microgreen Guide for tips.
4) Do microgreens really have that many health benefits?
Absolutely! Microgreens aren’t just a trend—they’re backed by science. Research shows that these baby greens contain higher concentrations of vitamins, minerals, and antioxidants than their mature plant counterparts. While we’re not here to make medical claims, we encourage you to explore the wealth of studies available. The more you learn about microgreens, the more you’ll appreciate just how powerful they are!
5) Can I cut my microgreens and store them in bags or containers?
Yes, you can store cut microgreens in storage bags or airtight containers—but it’s not ideal.
Freshly harvested microgreens are at their peak in flavor and nutrients. The moment they’re cut, they begin to lose those benefits. That’s why we sell them alive—so you can snip them fresh and get the full nutritional punch! If you must store them, make sure they’re dry and remove as much air as possible from the bag to keep them fresher, longer.
6) Do microgreens need to be washed before eating?
Our microgreens are grown in a clean, controlled environment, but the USDA recommends rinsing all produce before eating. If you choose to rinse them, use pH balanced water and give them a quick, gentle wash—don’t soak them! If your tap water contains chlorine or other additives, it could introduce unwanted chemicals to your greens.
7) Can I cook with microgreens?
Technically, yes—but we don’t recommend it. Microgreens are delicate and loaded with heat-sensitive nutrients. Cooking them would destroy many of their benefits. Instead, add them to dishes after cooking—toss them on soups, stir them into warm meals, or use them as a fresh topping for an extra boost of flavor and nutrition.
8) Can I dehydrate microgreens for smoothies?
Yes! If you have extra microgreens and want to extend their life, dehydrating is a fantastic option. Unlike freezing, which can zap 40-60% of their nutrients, dehydrating preserves up to 97% of their nutritional value. Simply blend the dried greens into a fine powder and add them to smoothies, soups, or even baked goods for an effortless nutrient boost.
9) Are your microgreens organic?
While we’re not certified organic, our growing process follows organic principles:
✔ No pesticides, fertilizers, or synthetic chemicals
✔ Only pH balanced water and Non-GMO seeds
✔ Soil-free, controlled growing conditions
Some of our seed varieties are organic, but not all. If an organic option exists, we choose it—but in cases where organic seeds aren’t available, rest assured that all of our seeds are Non-GMO and grown using organic methods.
10) Can I freeze microgreens?
You can, but you probably shouldn’t. Freezing microgreens destroys up to 60% of their nutrients and alters their texture. If you’re looking for a way to preserve them, dehydrating is a much better option (see FAQ #8).
11) How do I know if my microgreens have gone bad?
Here’s how to tell if your microgreens are past their prime:
- Shriveled leaves → They’ve lost moisture and nutrients. Still edible but not as fresh.
- Foul odor → Decay smells bad! Be mindful—some microgreens (like broccoli) have a strong natural scent.
- Mushy stems → This is usually the first sign of spoilage. Keep your grow pad moist but not waterlogged to prevent this.
If they check any of these boxes, it’s time to compost them and start fresh!
Still have questions?
We’re here to help! Drop us a message, and we’ll get back to you ASAP with answers.
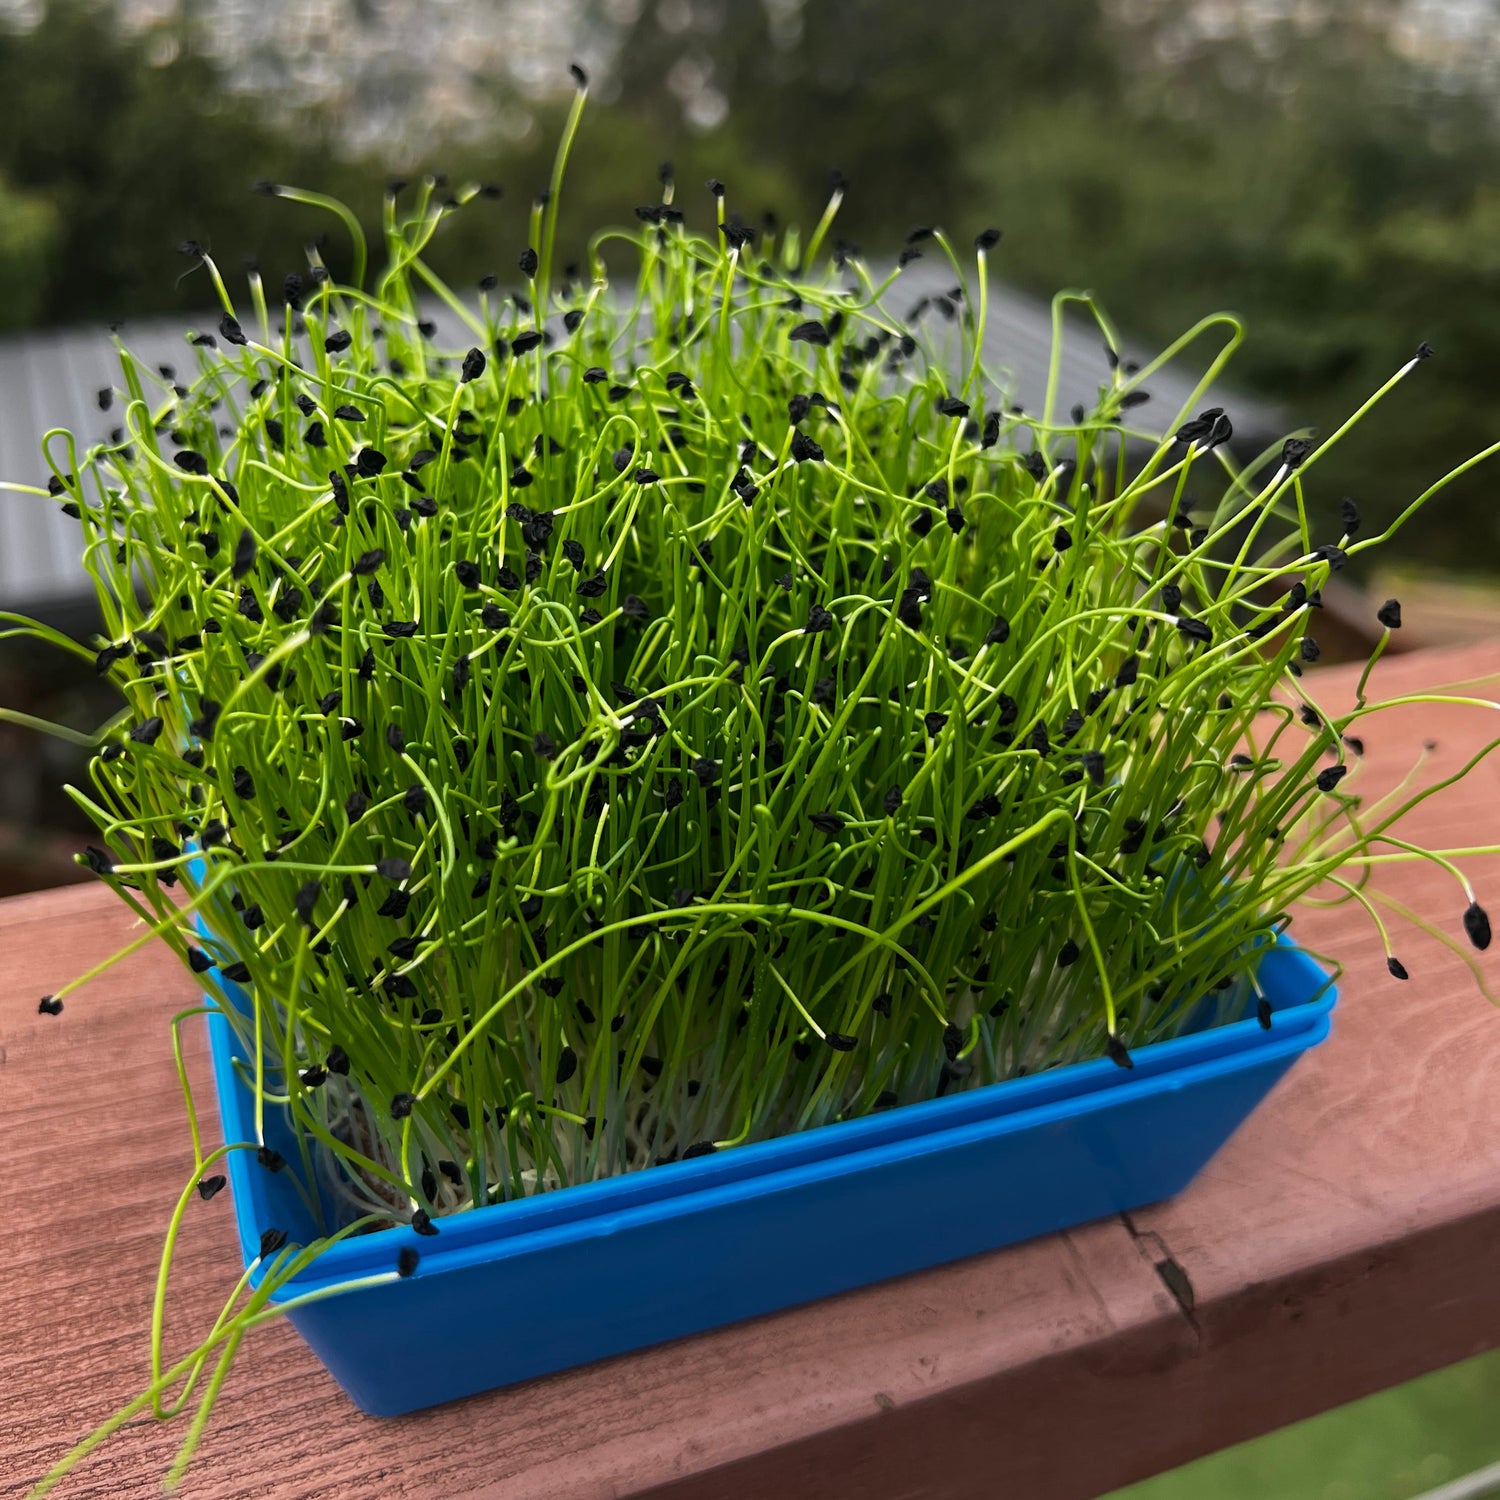
How to Grow Microgreens at Home with Shindig Kits
Welcome! You’ve just taken home a Shindig DIY Microgreens Kit. In about 7–14 days, you’ll be cutting your own fresh greens to add to every meal.
No garden required. No soil. No waste. Just clean, flavorful greens—grown right in your kitchen.
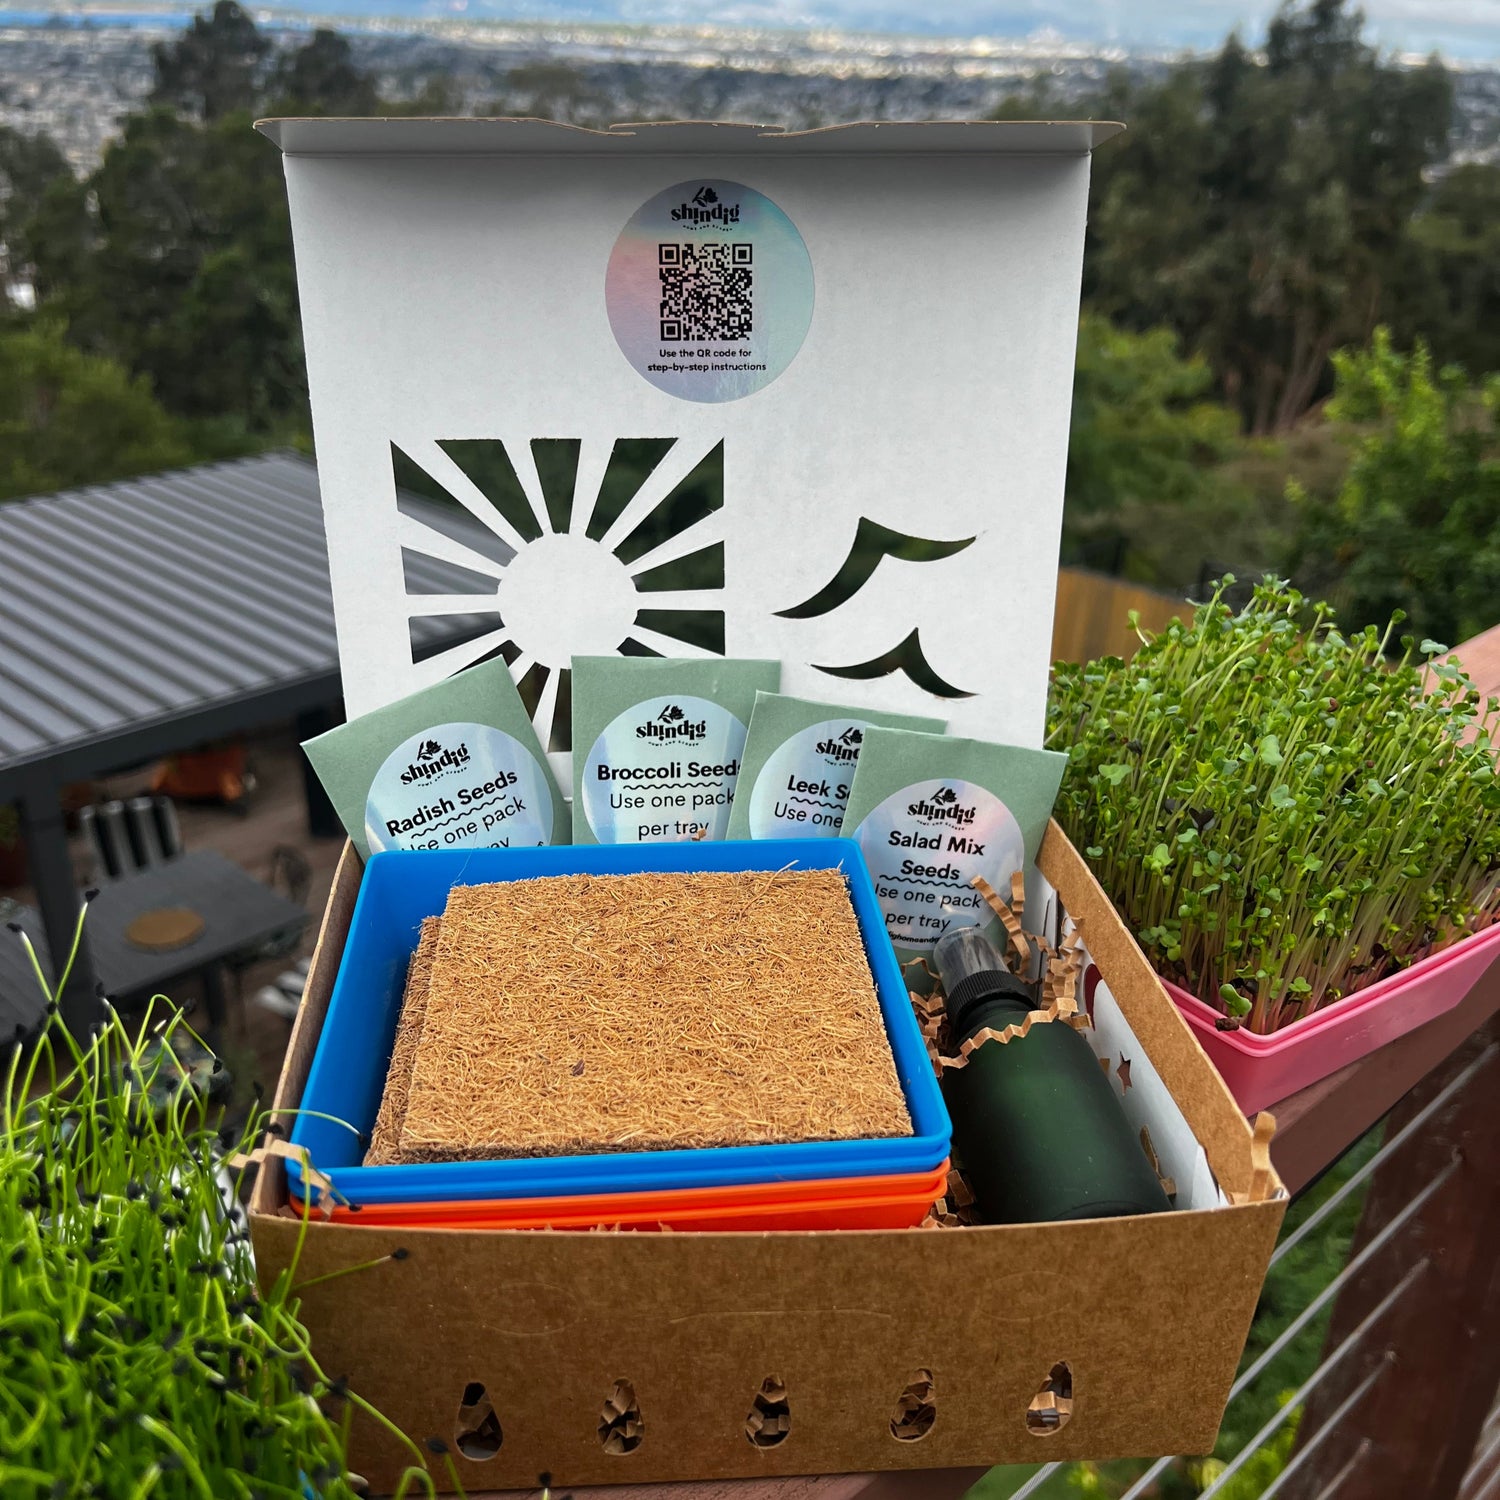
What’s in Your Kit
- Reusable grow tray sets (2 - base and lid)
- Compostable coconut coir pad (4)
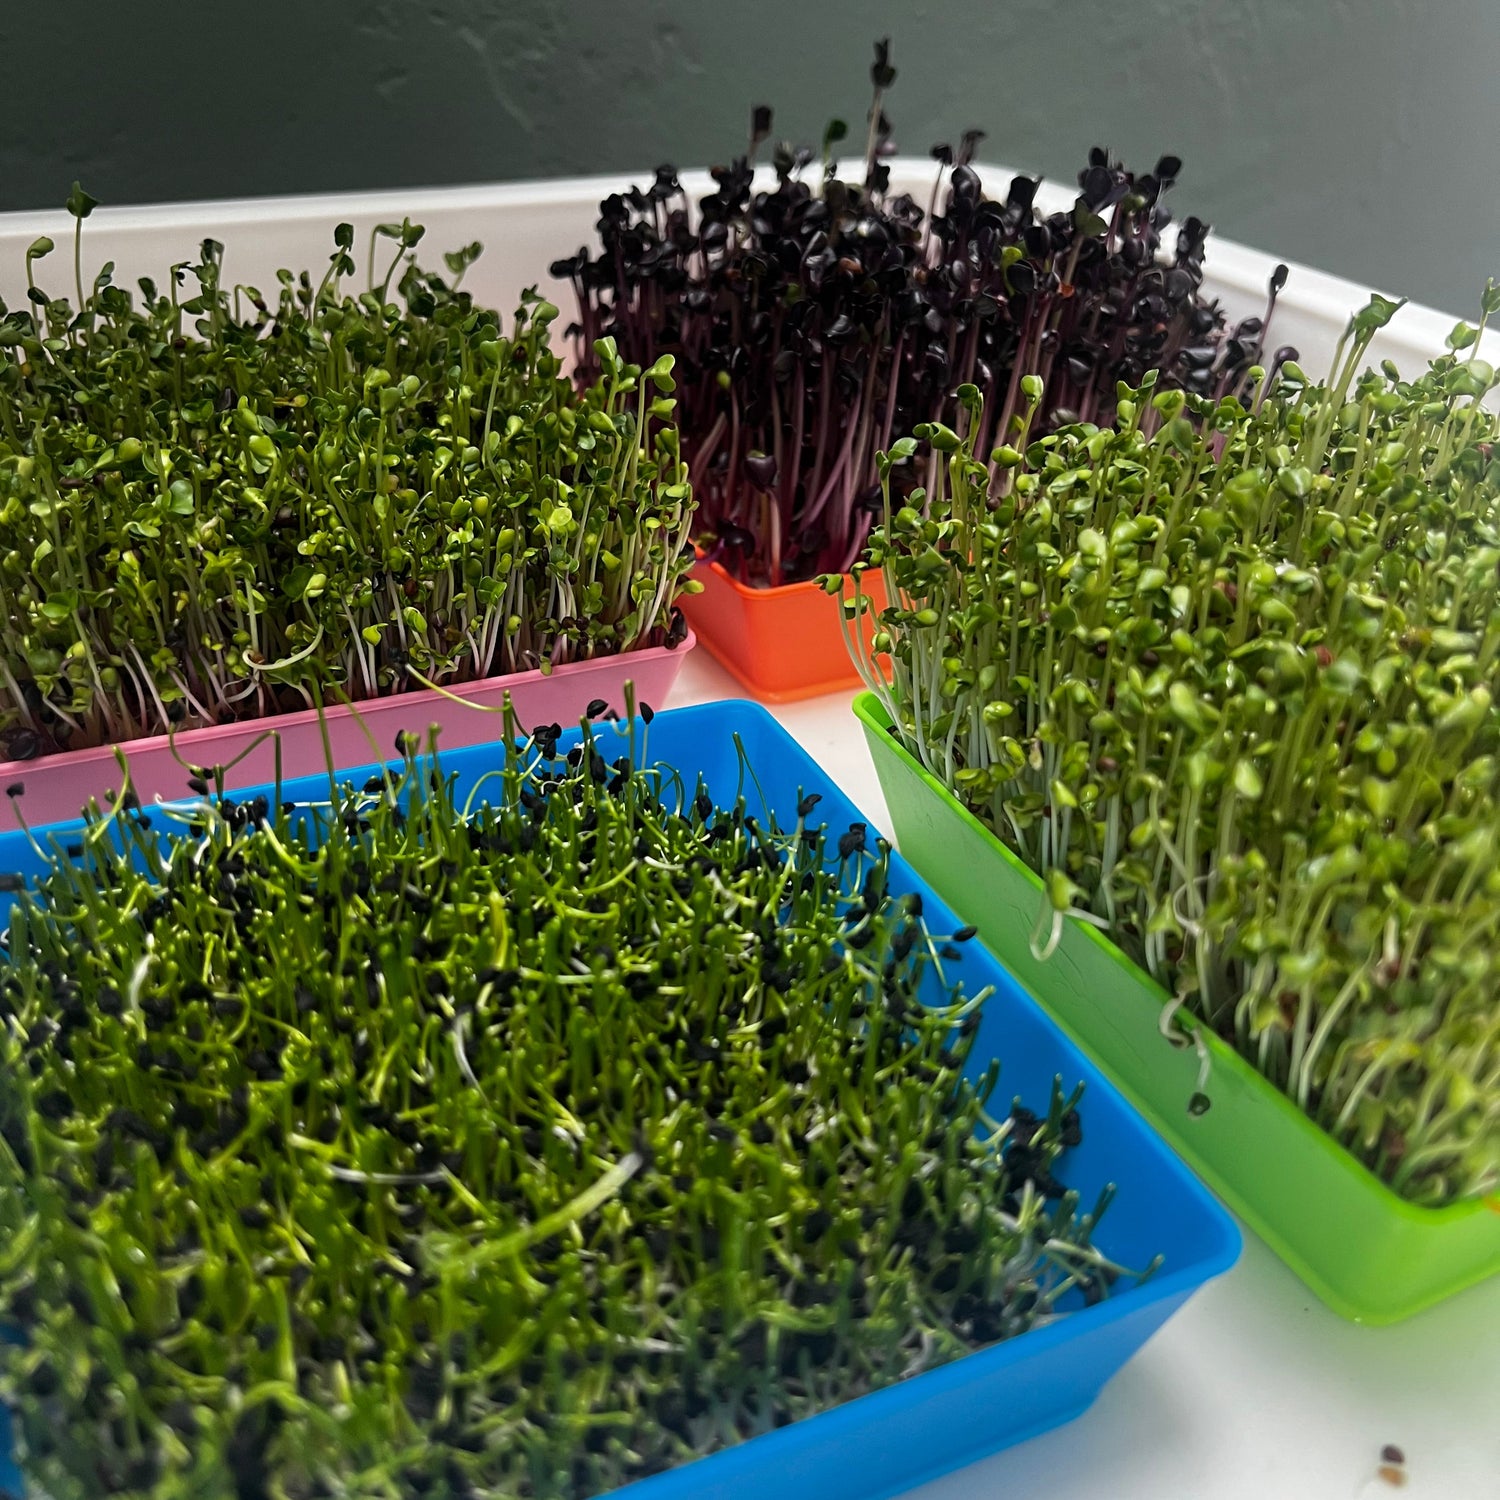
- Seeds (Broccoli, Leek, Salad Mix & Radish)
- Spray bottle
You’ll also need: clean water (pH of 6-6.5 is ideal - Voss & Smart Water are two bottled water brands within this range), small plate for each tray, a sunny windowsill or grow light.
Step-by-Step Instructions
- Prepare the Tray
Soak coconut coir pads in hot water overnight. Place one coconut coir pad in the tray with holes in it.
- Sow the Seeds
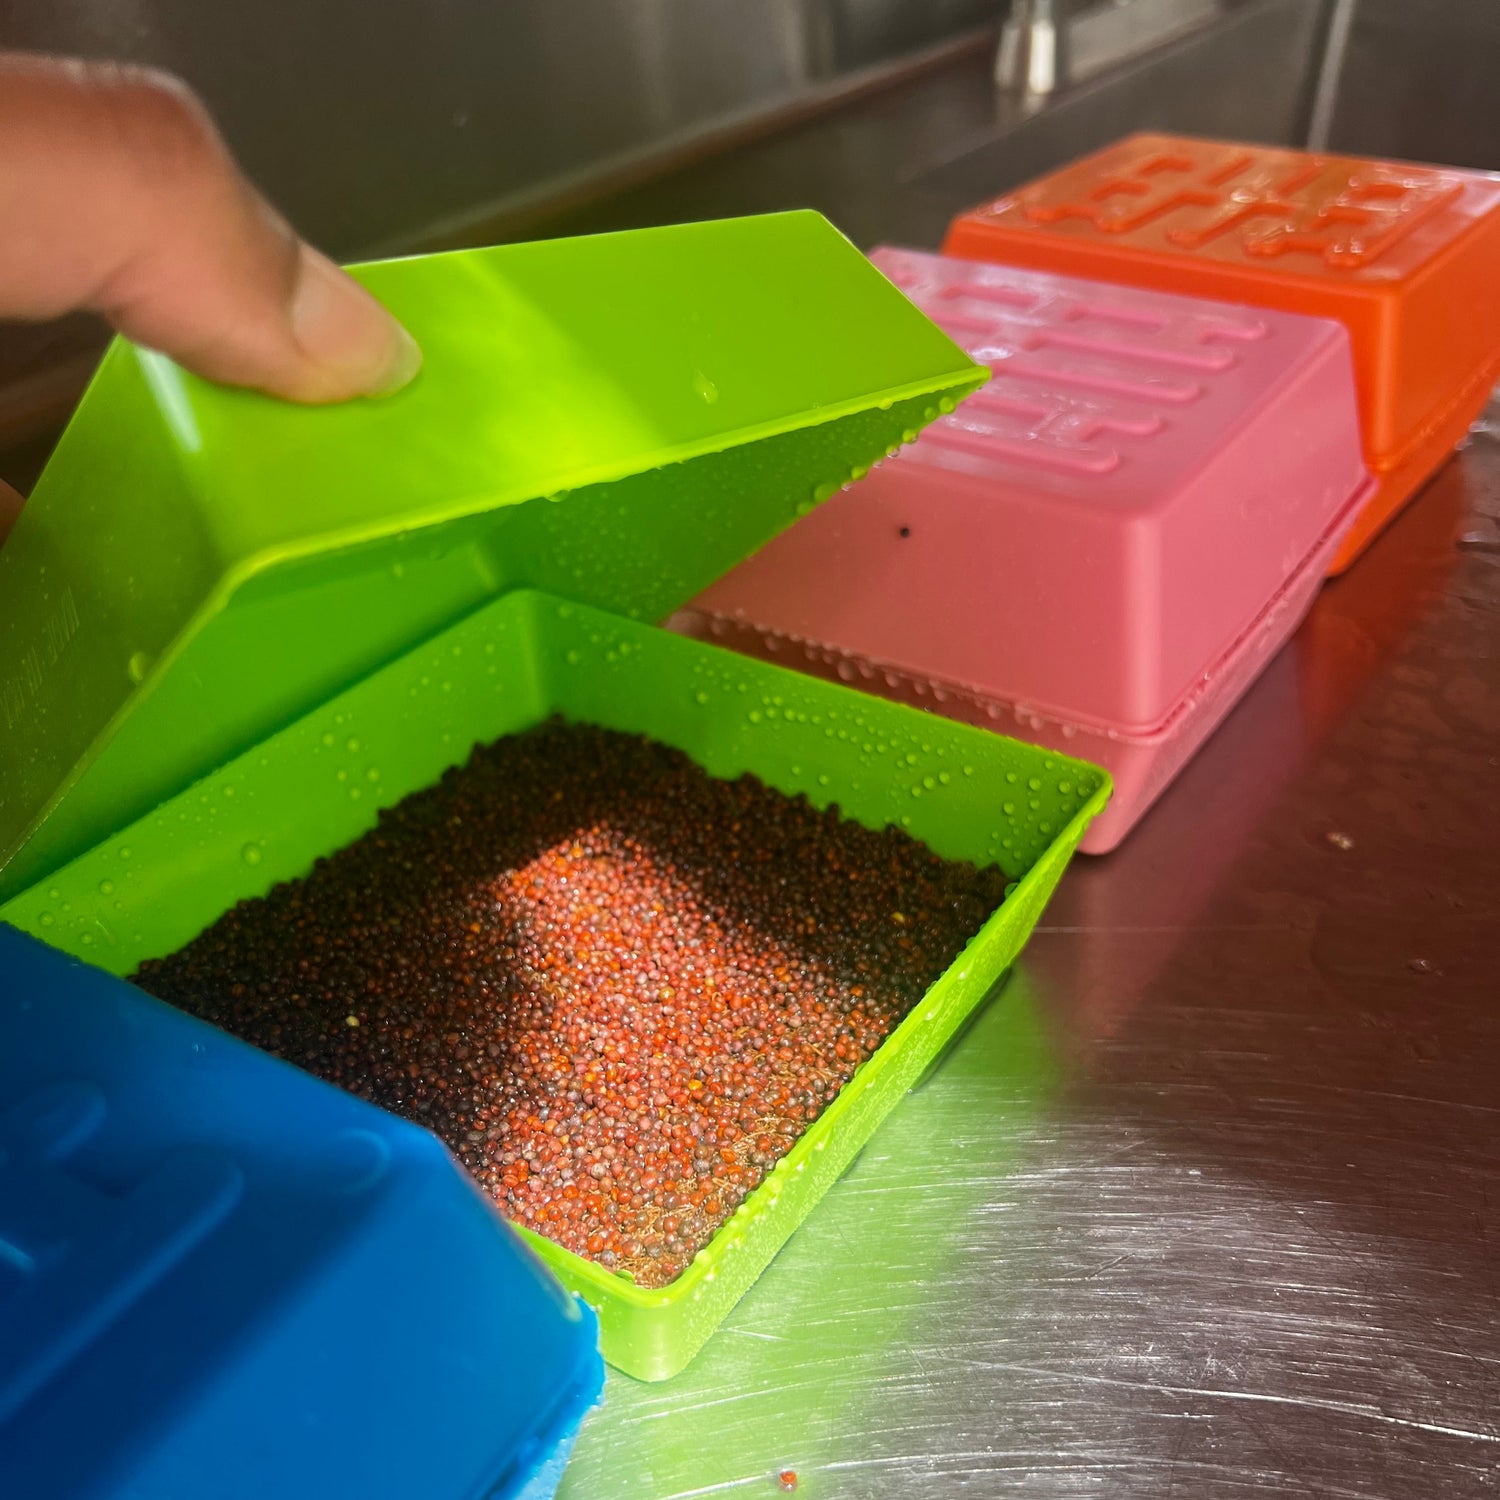
Sprinkle seeds evenly across the pad in a single, even layer. The smoother side of the pad is the top. Each seed pack is the perfect amount for one pad.
- Cover to Germinate
Mist well, then cover the tray with the lid placed upside down to block light. Place the microgreens on a plate so any water is not lost. Leave covered for 3-4 days until seeds sprout. Mist 2 times daily to keep the seeds and pad moist, but not soggy.
- Uncover & Add Light
Once sprouted, and leaves can't be contained by the cover, remove the cover. Place tray in indirect sunlight or under a grow light. Pour water on the plate so the roots can soak it up; no more misting at this point.
- Grow
Over the next week, watch your greens take off! Water daily so the microgreens do not dry out.
- Harvest
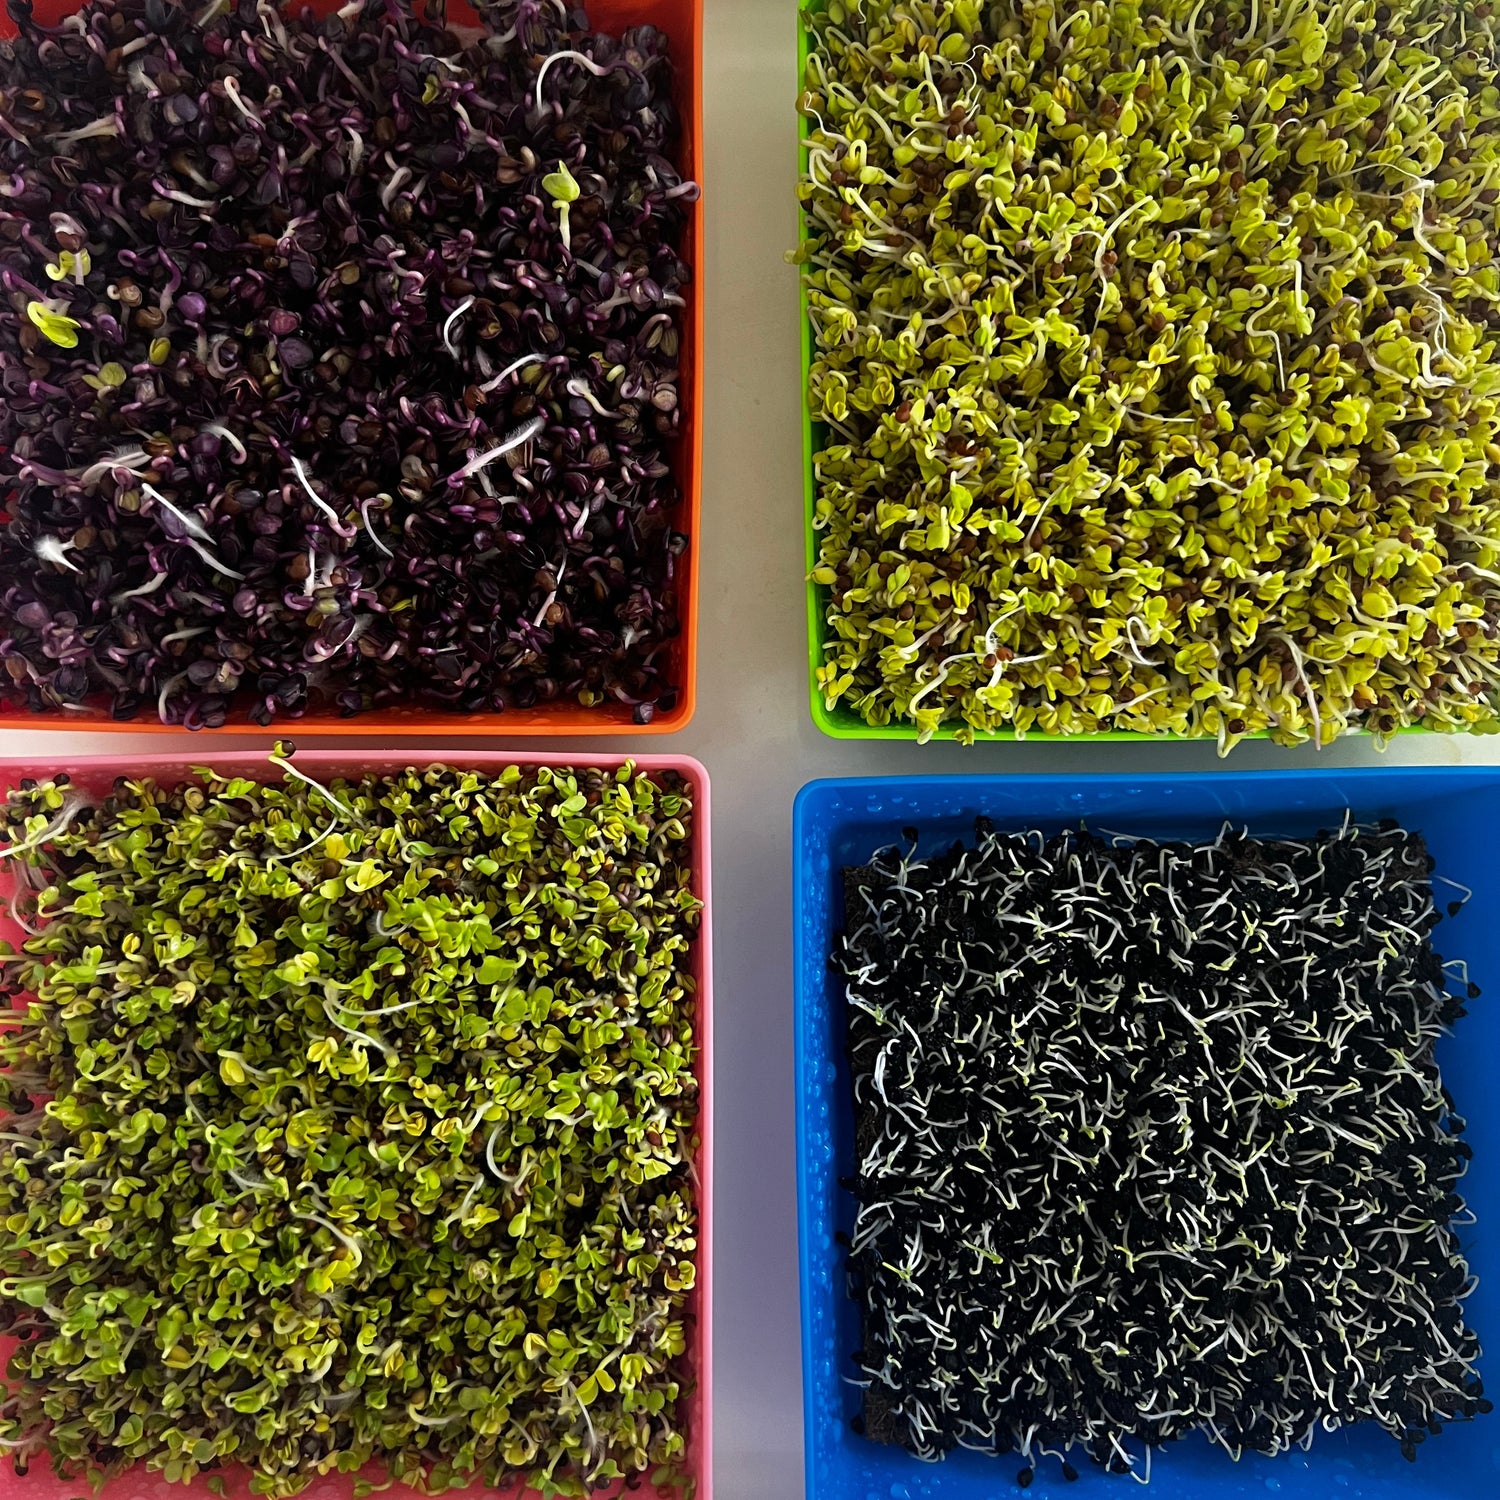
When microgreens are 2–3 inches tall and their first true leaves are open, snip with clean scissors just above the roots. Harvest fresh as you need them.
Tips for Success
- When microgreens are Harvest just before eating for the best flavor.
- Living trays last longer than pre-cut greens—keep them on your counter in a bright spot.
- For mold prevention: avoid over-watering and keep in a well-ventilated space.
- Once microgreens are ready to harvest, they will keep for up to one more week. Continue watering daily to ensure they stay hydrated a vibrant.
FAQs
What is that fuzzy hair at the base of my microgreens?
Great news—it’s not mold! Those tiny, hair-like strands are micro root hairs, and they help your microgreens absorb water. If you’re growing hydroponically, these are especially common and completely natural.
Check out our detailed guide: Fresh & Flavorful Microgreen Guide.
Do microgreens regrow after cutting?
Some (like peas) may regrow once, but most are one-and-done.
How long do harvested microgreens last?
About 5–7 days in a sealed container in the fridge.
What do I do with the used coir pad?
Compost it! Then replace with a fresh pad for your next tray.
Refill & Reorder
Running low on seeds or pads? Order refills anytime:
[Coming Soon!]
